Following the Wireguard series, I wanted to modernize my lab. one quick way to address that is to extend my two networks via Azure Arc so I can manage my resources more adequadely
Table of Contents
- Installing Azure CLI
- Creating the deployment script via Azure Arc Portal
- Running the onboarding script
Installing Azure CLI
The steps to install Azure CLI are pretty well described here so I wont take time to do this. however, make sure you have the latest Azure CLI installed.
One note is that by default, az login will span a web browser to authenticate. If you don’t have any available in your setup, you can use az login --use-device-code, which will give you a device code so you can log from any other machine (like when you connect your Streaming Apps/Credentials). Pretty clever.
Creating the deployment script via Azure Arc Portal
In Azure Portal, Type Azure Arc, then click on “Add”

Then
Servers>Add a Single Server
and fill in the details for your machine.
Resource Group: Create new or select existing
Region: Select Region Closest to your server
Operating System: Linux
You can also add Physical Location tags to define where the server is located. After you finish you can download the script
Running the onboarding script
Download the file to your server, give permissions and run
This script will do the following :
- Download an installation script from the Microsoft Download Center.
- Configure the package manager to use and trust the packages.microsoft.com repository.
- Download the agent from Microsoft’s Linux Software Repository.
- Install the agent on the server.
- Create the Azure Arc-enabled server resource and associate it with the agent.
Note that during the installation the agent will span a web browser to authenticate. If you don’t have any available in your setup, it will give you a device code so you can log from any other machine (like when you connect your Streaming Apps/Credentials). So be on the lookout for any outputs from the script.
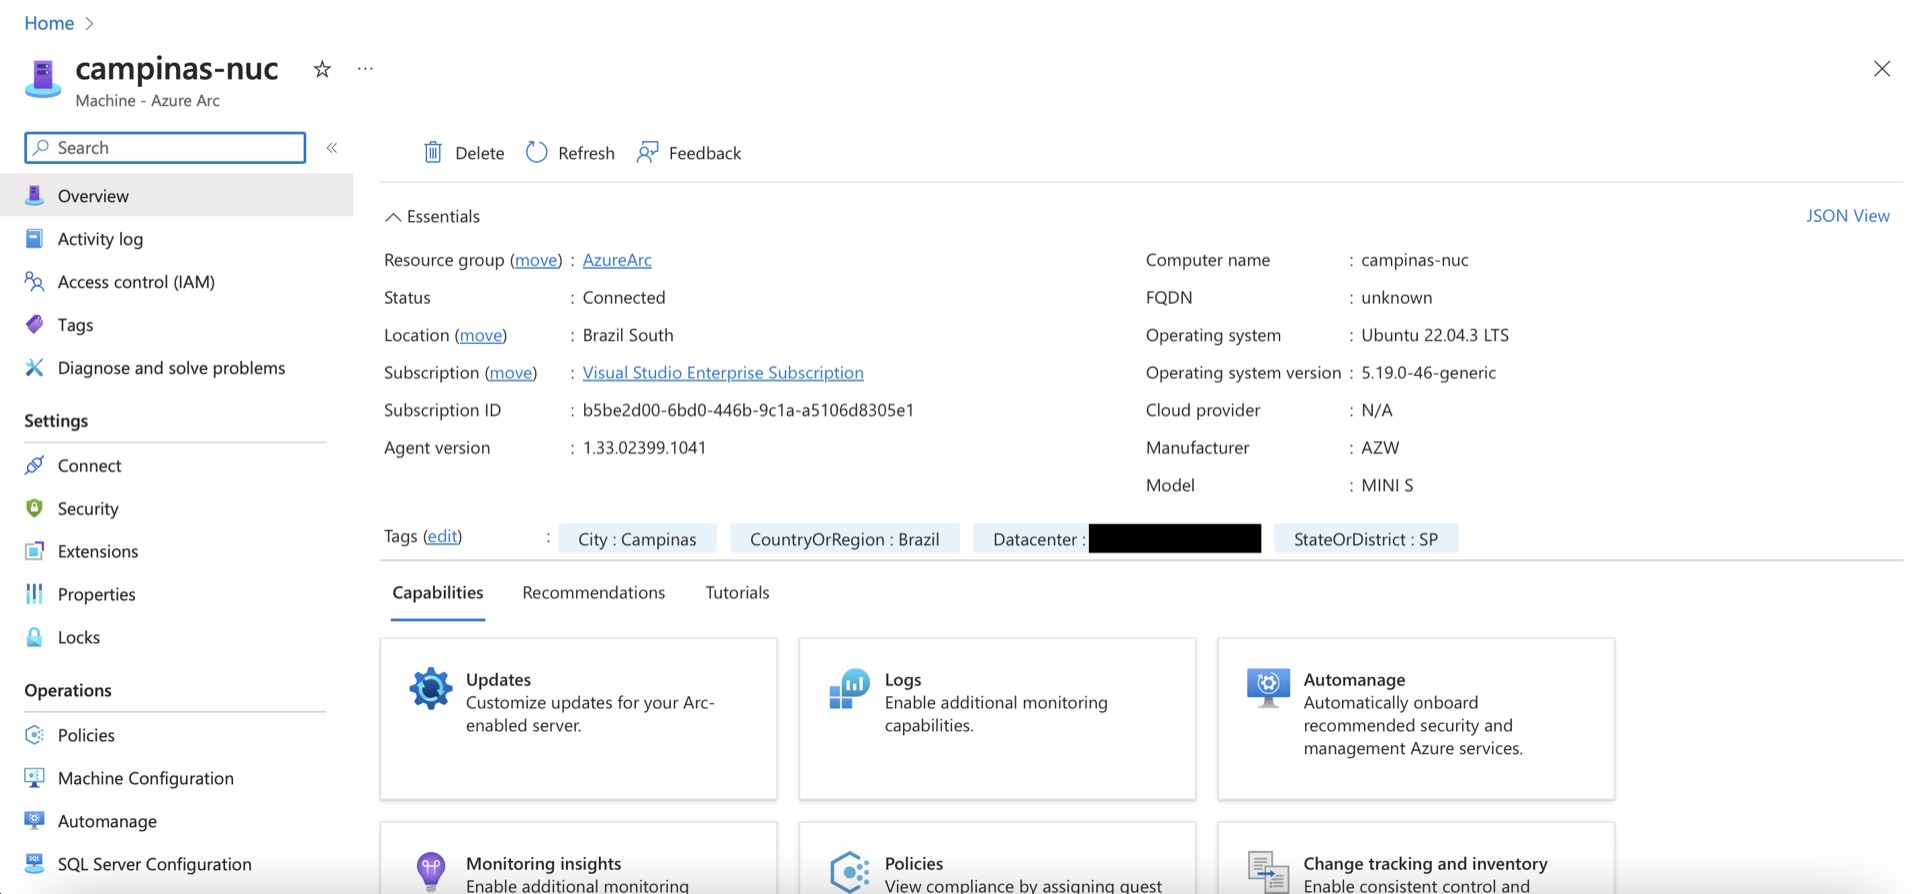
If all goes well, the script will connect the machine to Azure and provide you a link for the machine overview page