Now that Wireguard is officially supported by Ubiquiti, I’ve decided its time to fix my VPN once and for all. Since I have a pfSense up and running in Brazil and a UDM Pro here in US, I always leveraged a Site-to-Site VPN with ipsec to access my devices in both ends.
While my IPsec tunnel has been working fairly well over the years, now that Ubiquiti offers Wireguard support, its time for me to modernize my setup and look into some new use cases. This post will guide you through step by step on how to make this works.
Table of Contents
Wireguard Server (UDM Pro)
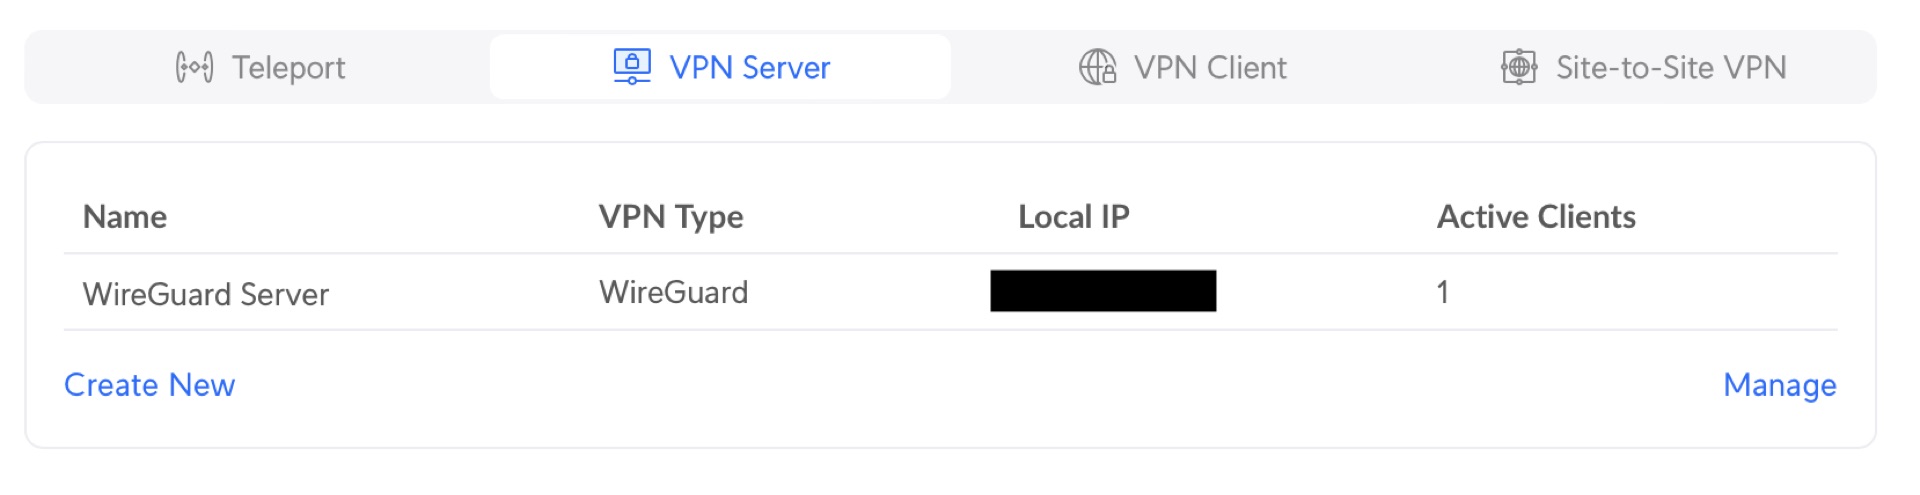
The UDM Pro will act as the Wireguard Server, while pfSense will be the client connecting into it. Setting up Wireguard on UDM Pro is as easy as it gets. Going to
Settings > Teleport & VPN > VPN Server
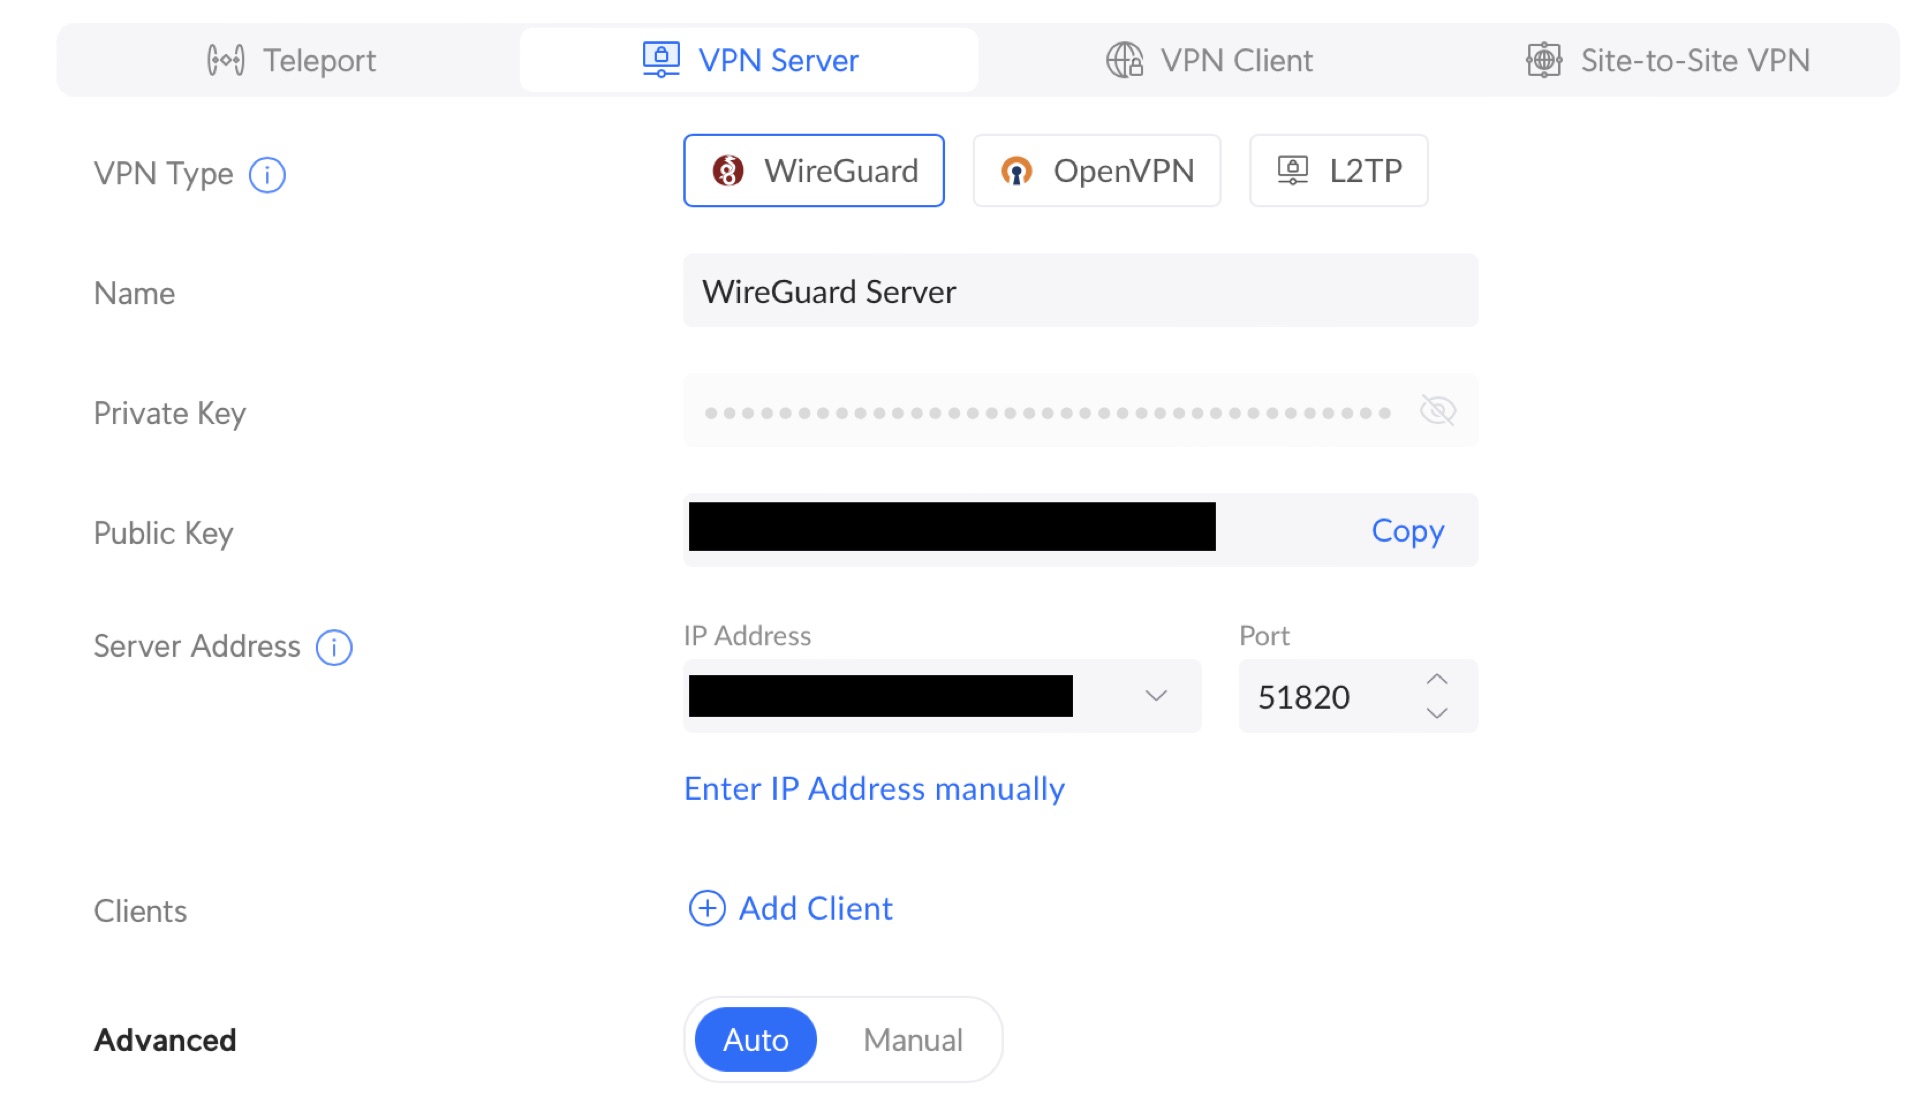
Takes you to the new VPN Server screen. Set the name of your VPN and take notes on your public key. You’ll need it later. You can configure the Gateway and Network you’d like or leave the default settings. If you decide to modify your network settings, use the Advanced. In my case the default settings works fine. So I’ll leave it as is
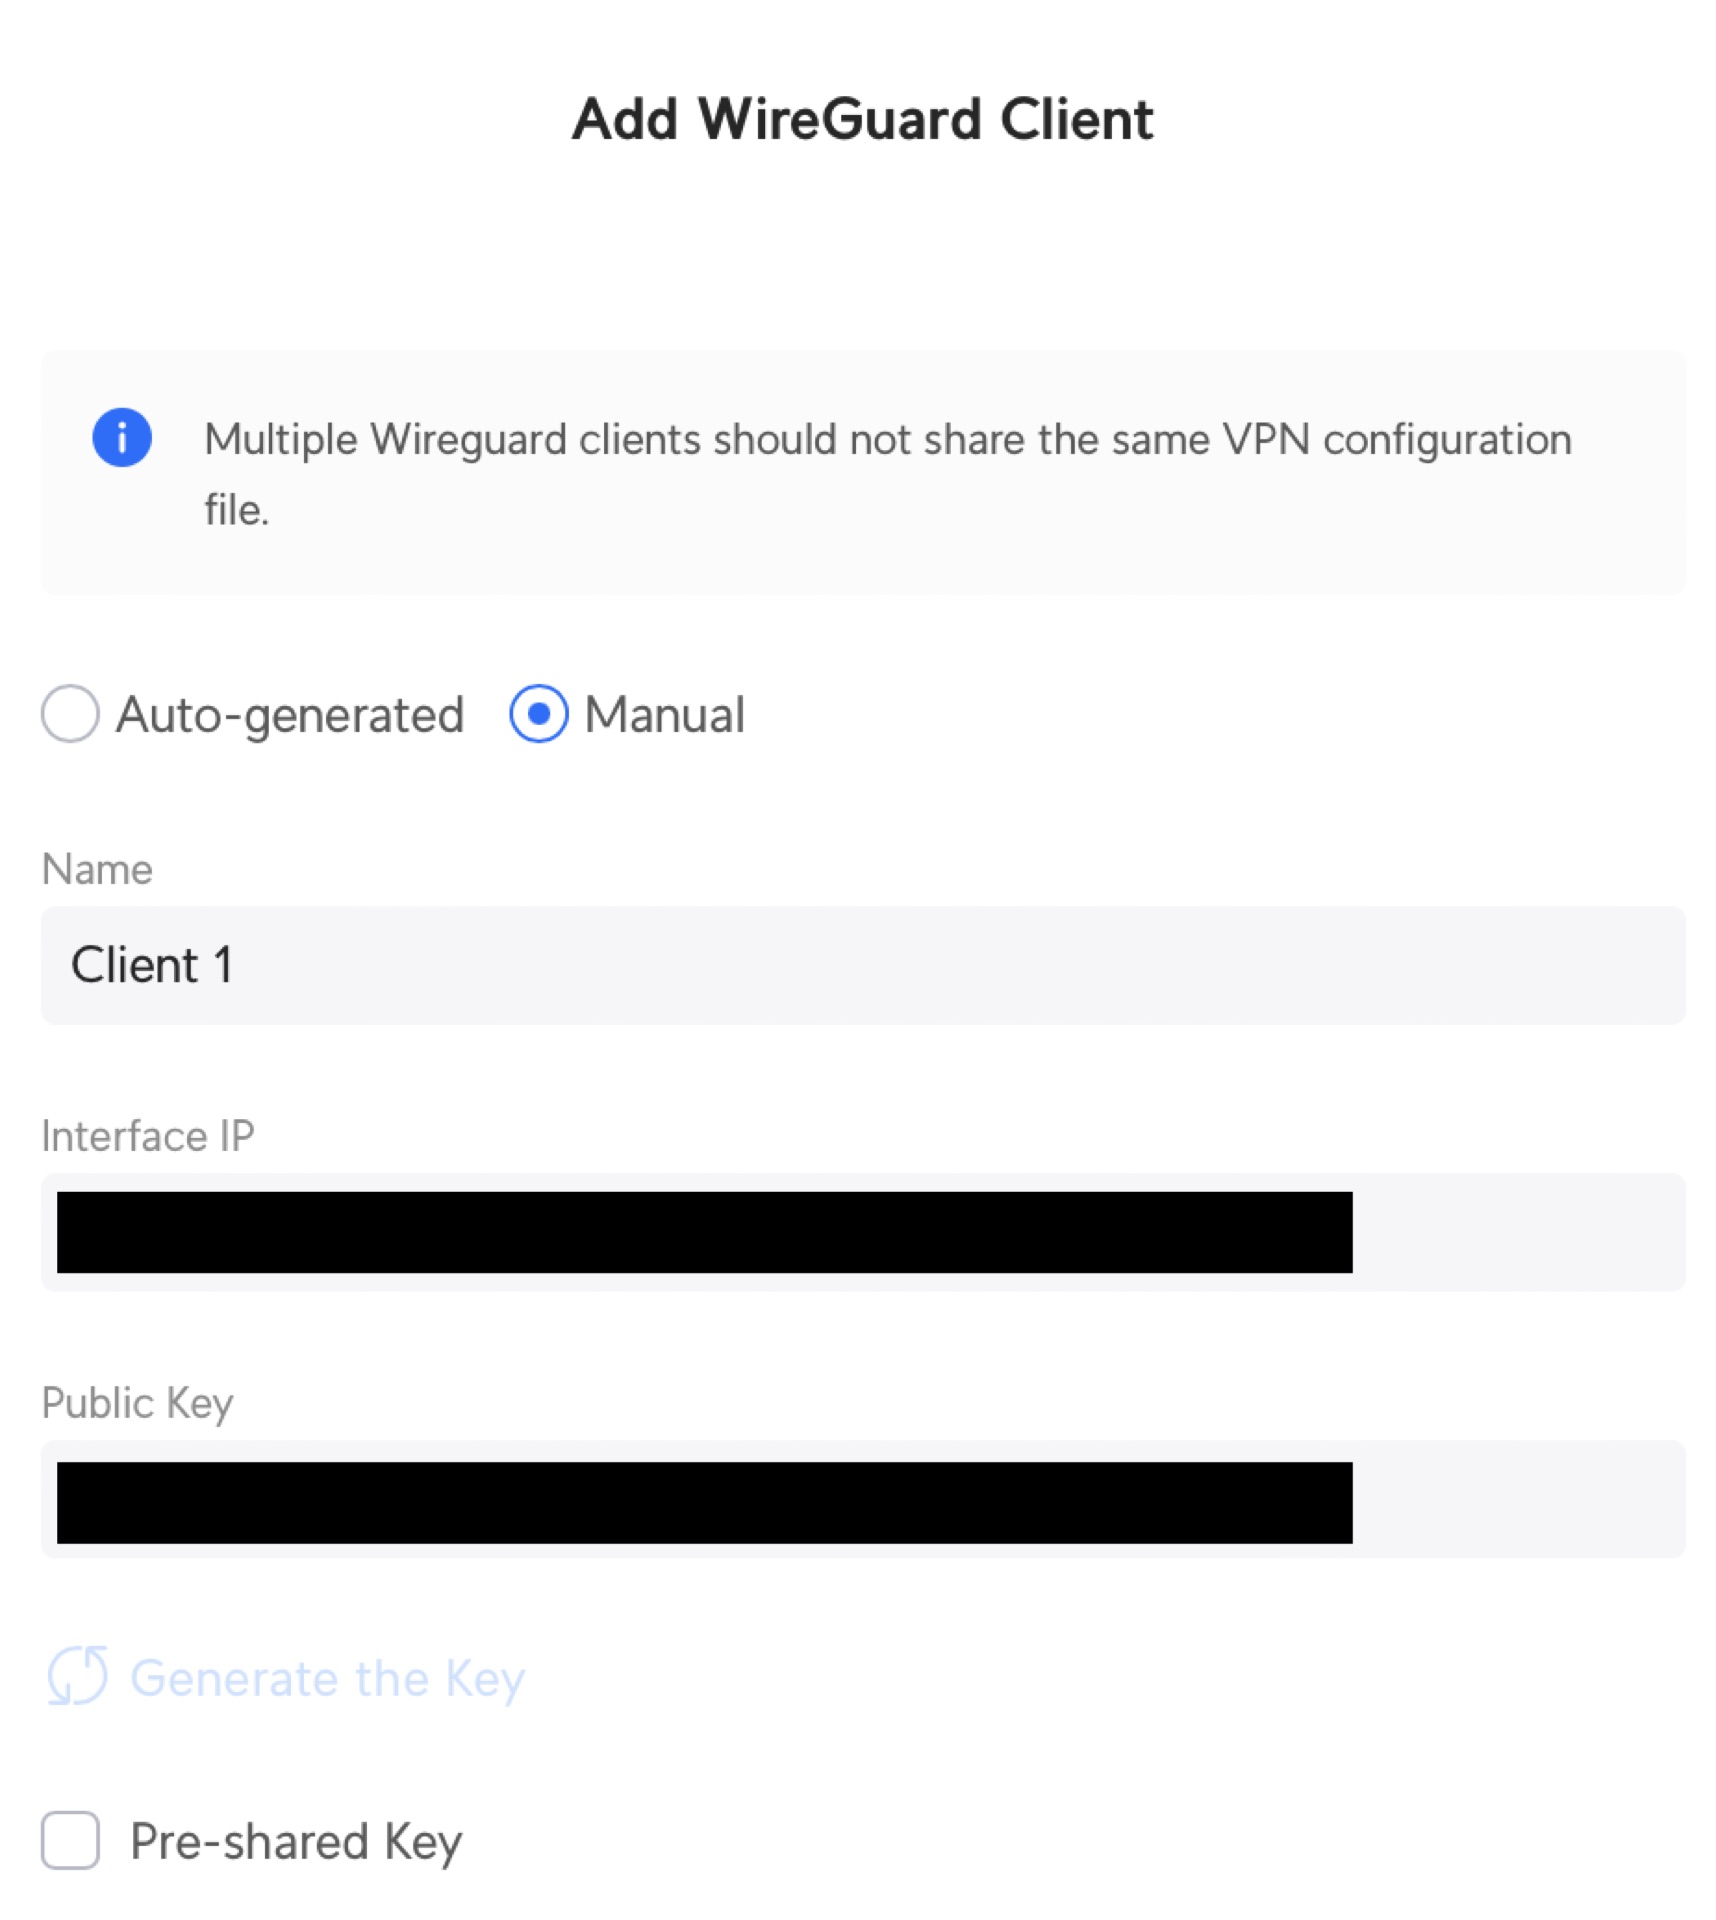
Use the Add New Client option to create your new client credentials. Select Manual to modify the default settings. Set up the name of your Client, take notes on the public key again and modify the Interface IP as needed (in case you modified the default network settings)
Believe it or not, you are done! Now lets move to pfSense.
Wireguard Client (pfSense)
Setting up Wireguard on pfSense is a bit more work. This post will only guide through the handshake process. On future posts I’ll be showing some interesting use cases, on how to create a kill switch vpn and redirect the traffic from a VLAN to this VPN. Let’s setup.
Installing Wireguard Packages
Go to
System>Package Manager>Available Packages
Search for Wireguard and Install the package.
Creating the Tunnel
Once the Wireguard package is installed, you’ll get a new Option under the VPN menu. Go to
VPN>Wireguard
Click on Add Tunnel
Enable: Checked
Description: Whatever you want
Listen Port: Leave Blank
Interface Keys: Use the private and public keys available at the configuration file (you saved this earlier, remember?)
Private Key: Private key available under the [Interface] section of the configuration file
Public Key: Public key generated when you created the Client on UDM Pro (its under [Peer] section of the configuration file)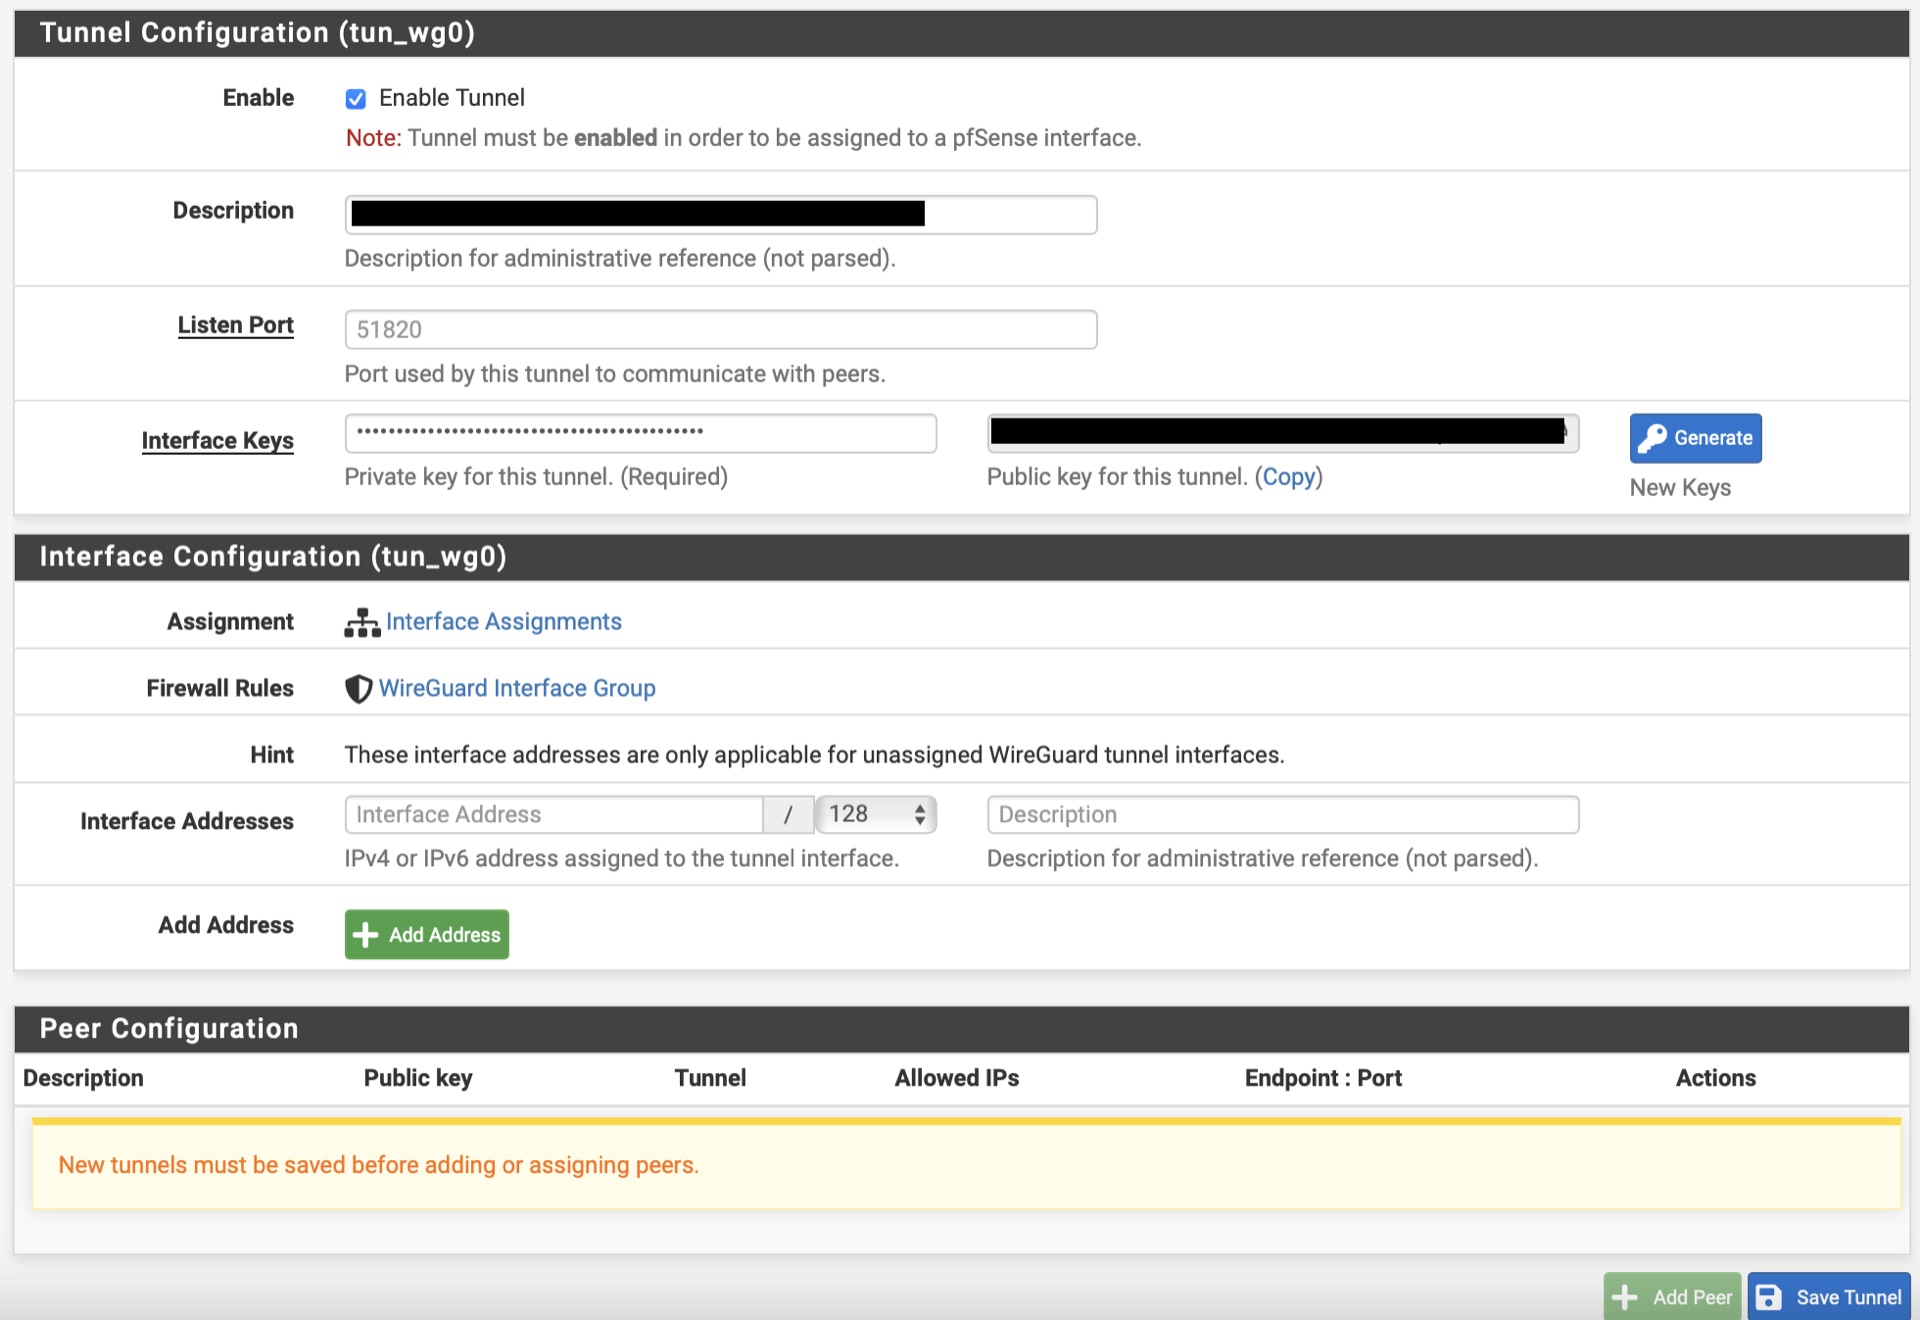
After that, click on Save Tunnel
Establishing the Peer Connection
With the tunnel created on pfSense, now its time to create the Peer and establish the connection with UDM Pro. Navigate to
Peers>Add Peer
Set your settings to:
Enable: Checked
Tunnel: Select the new tunnel you just created
Description: Whatever you want
Dynamic Endpoint: Uncheck
Endpoint: Set the IP address of your UDM Pro. The IP address and port can be also found on the configuration file generated by UDM Pro when you created the Client
Port: Set the Port of your UDM Pro Wireguard
KeepAlive: 25
Public Key: Enter the public key that you took notes before. This is the public key from the Server, create on step 1
Allowed IPs: Enter 0.0.0.0/0
After that, click on Save Peer
Creating the interface
Go to
Interfaces>Assignments
Under Available Network Ports, select the tunnel you created on the step above and click on the +Add button.
This will create a new OPT interface.
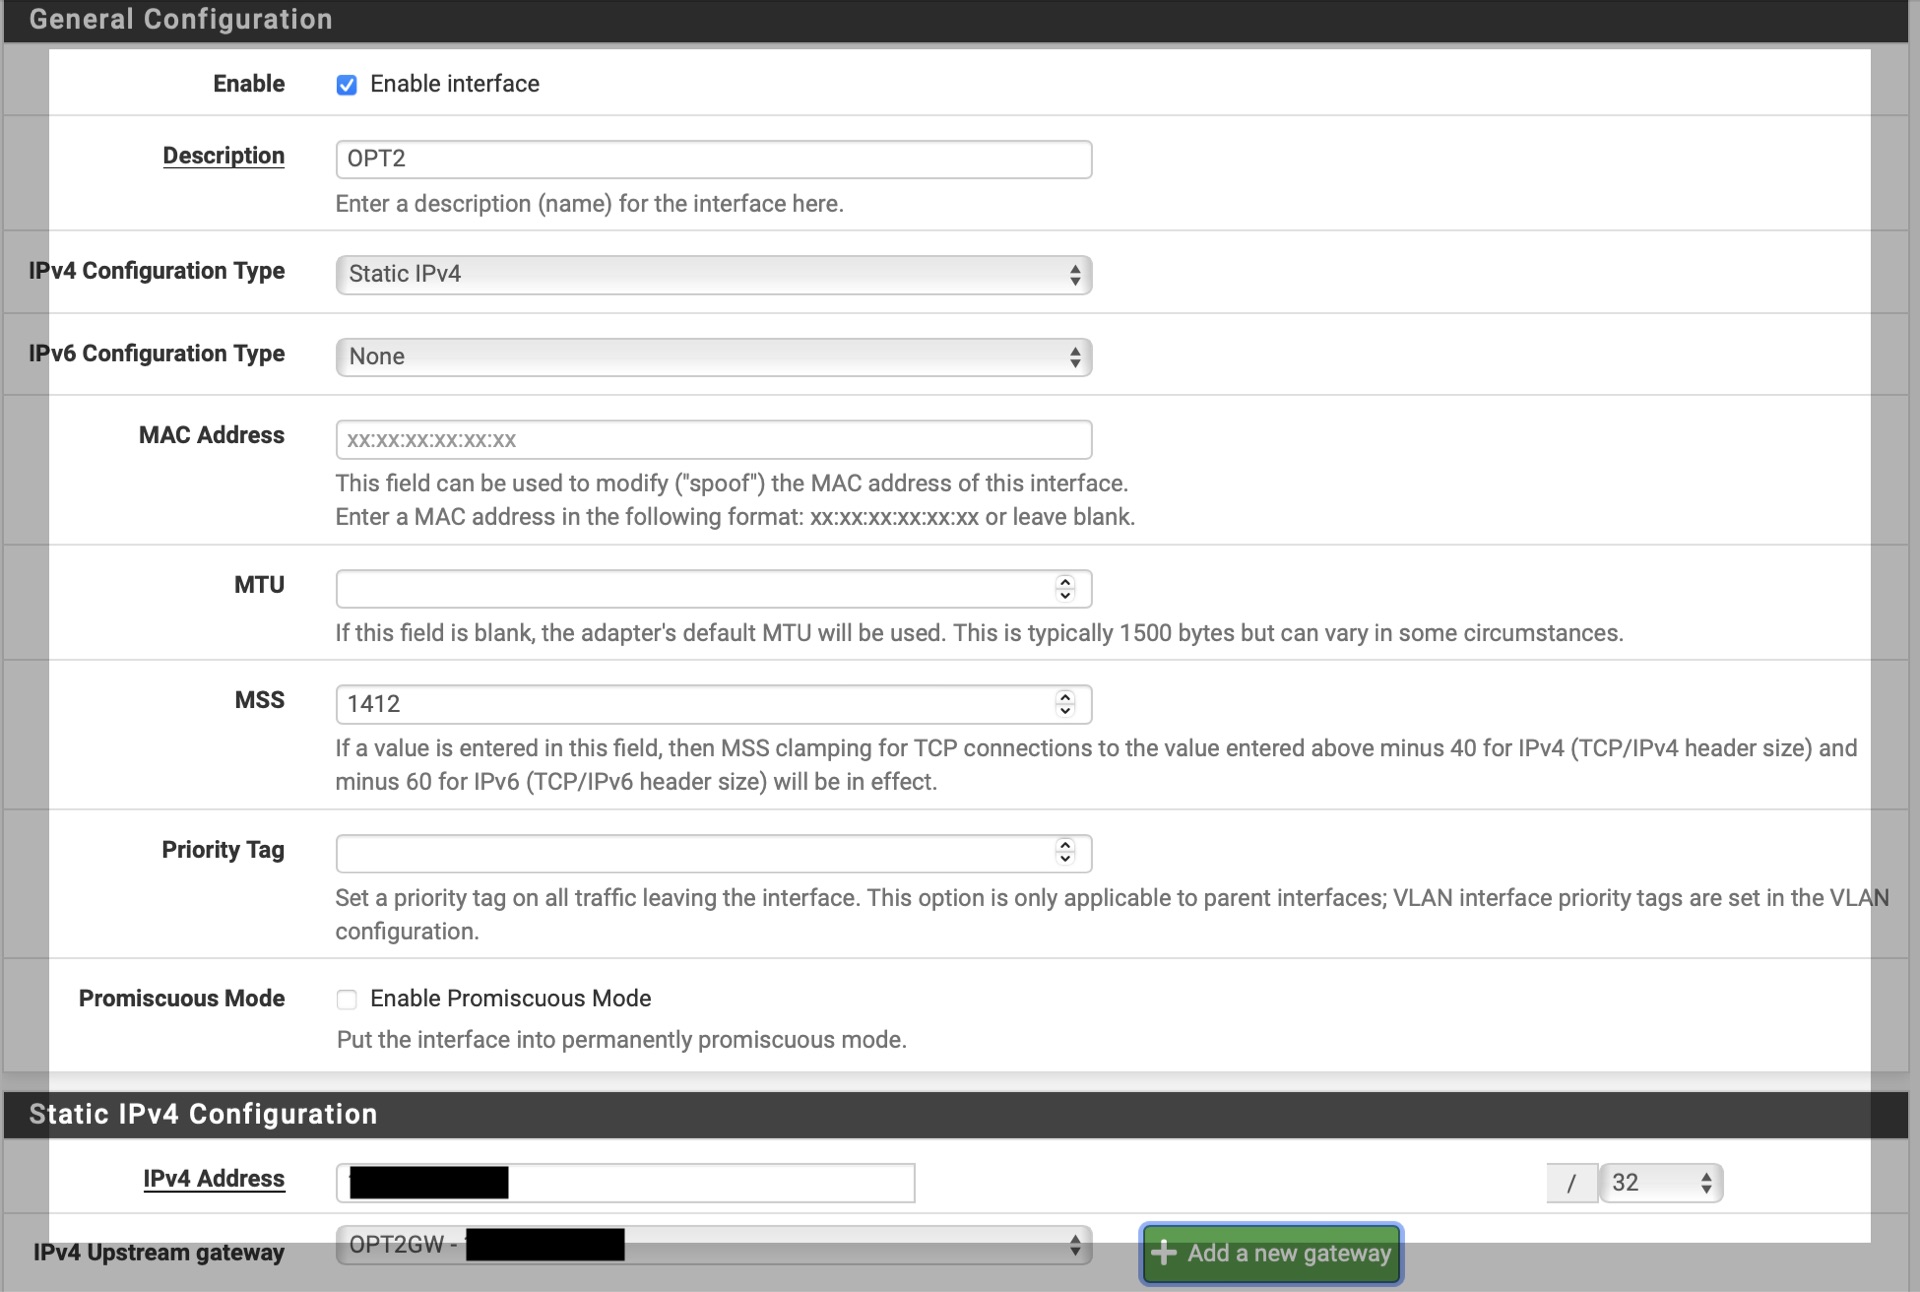
Click on the OPT interface and set your settings to:
Enable: Checked
IPv4 Configuration Type: Static IPv4
MSS: 1412
IPv4 Address: Set the IP Address of the Peer connection defined by UDM Pro
IPv4 Upstream Gateway: Click on Add a new Gateway and on the Gateway IPv4 field, Set the IP Address of the Peer Connection defined by UDM Pro again.
Click on Save and click the Apply Changes if needed
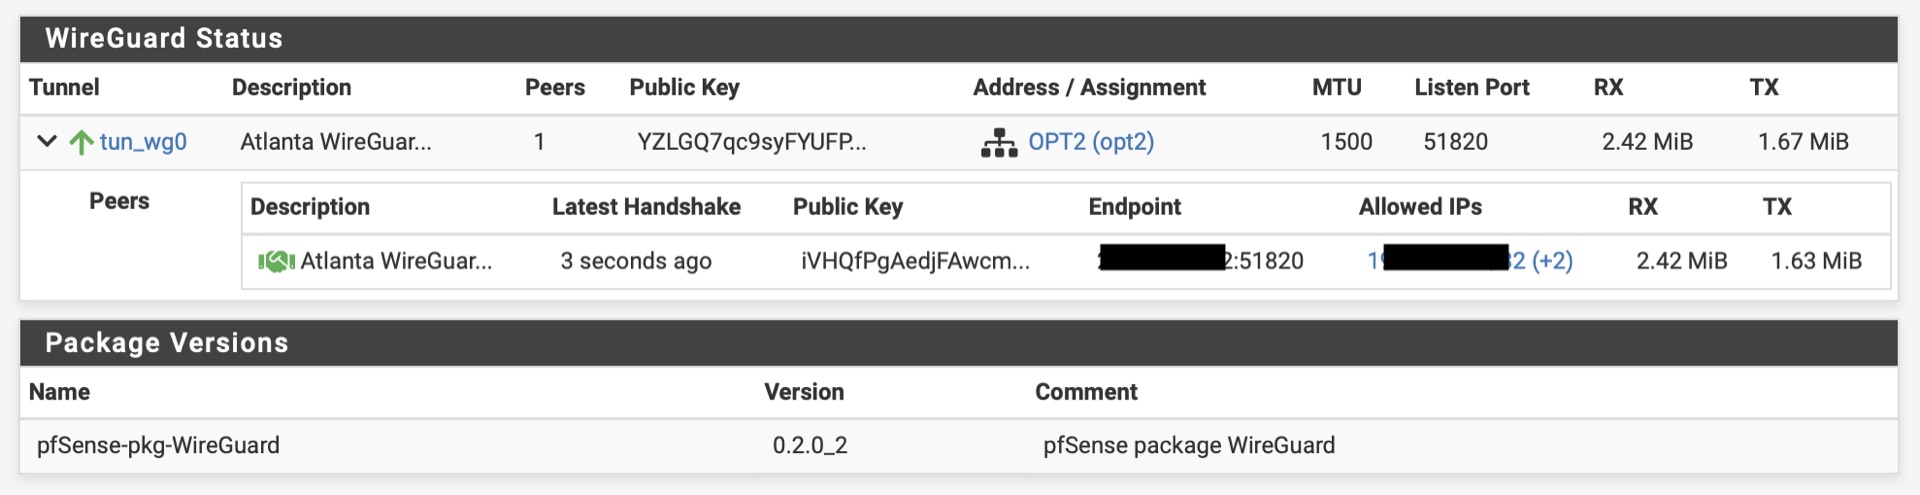
Checking the handshake
Head to
VPN>WireGuard>Status
Open the tunnel and verify if the handshake was established. You should see the handshake listed there
You can also confirm on the UDM Pro End, by logging on
Settings>Teleport & VPN>VPN Server
And checking the # of Active Clients