Azure DNS
Table of Contents
I always used noip to manage my DNS Zones, but as I keep adding additional domains, it has become expensive. Azure charges only $0.50/month for the first 25 DNS zones, so thats a plus compared to $20+ I pay for NoIP. This guide shows how to create a zone and manage inside Azure.
Creating a new DNS Zone
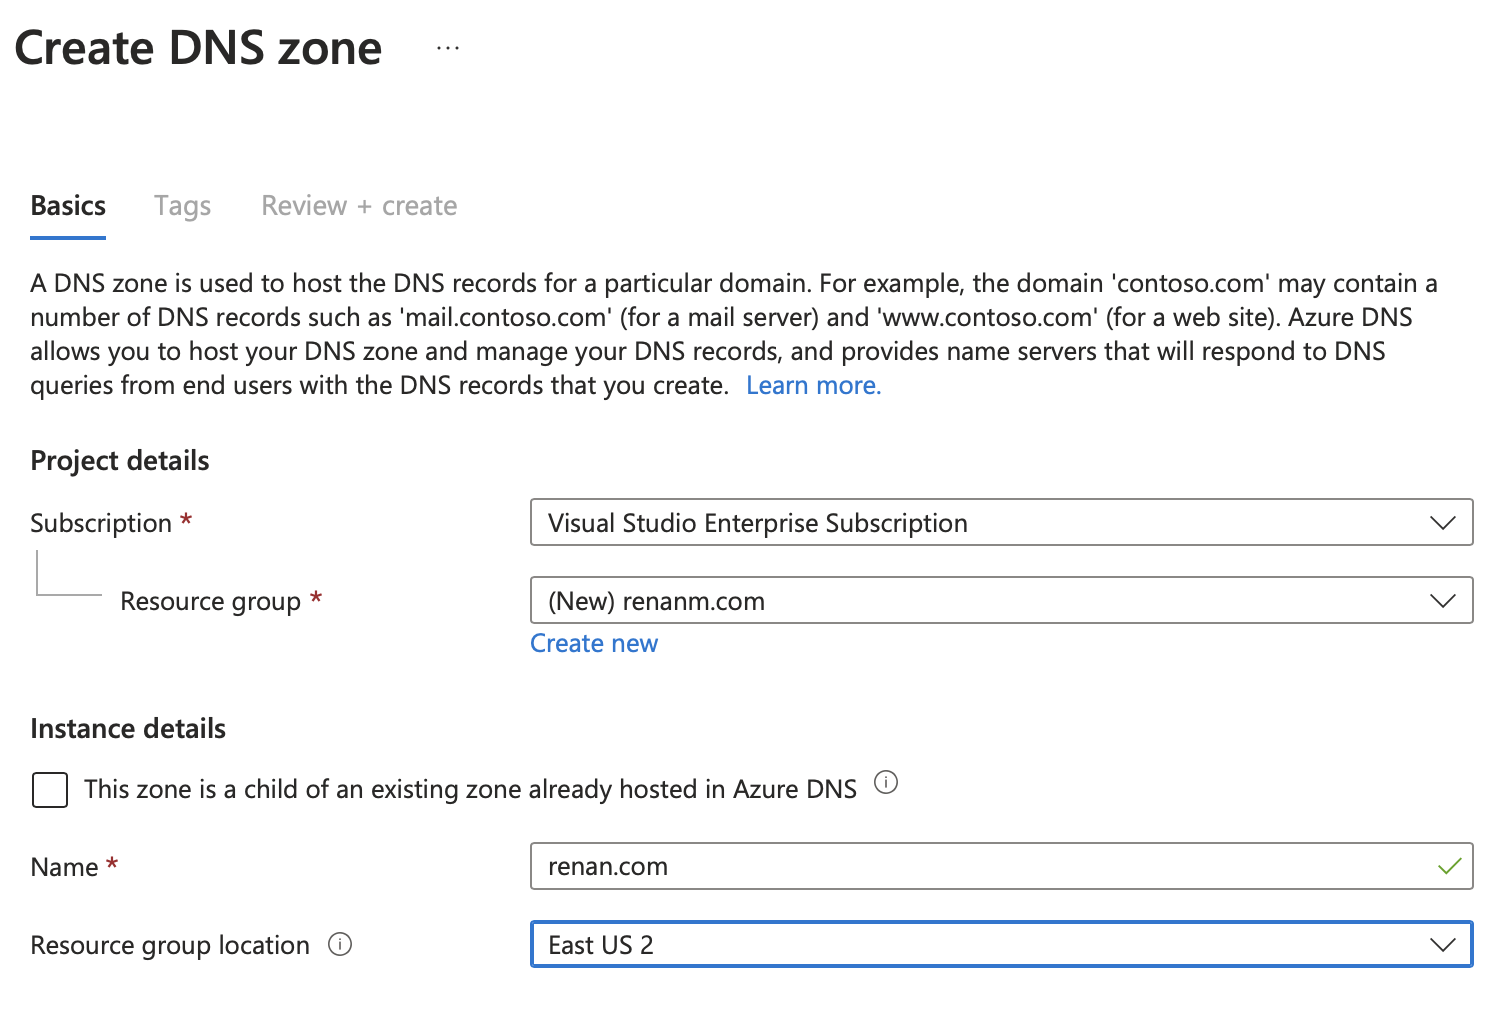
Seach for DNS Zones in the search bar and click on Create dns zone.
Select an existing Resource Group or Create a new one for your resources.
In instance details Name, type in the domain name you bought from a domain registrar and select the location for your resource group in Resource group location as seen below:

Add any tags as applicable and then select Create
Creating a DNS record
Now that you have your Zone created, you need to start populating the DNS records. For this example, I will only create a CNAME record to point to my website. If you want to read more about DNS records and types, head to this Wikipedia Article
Creating CNAME record:
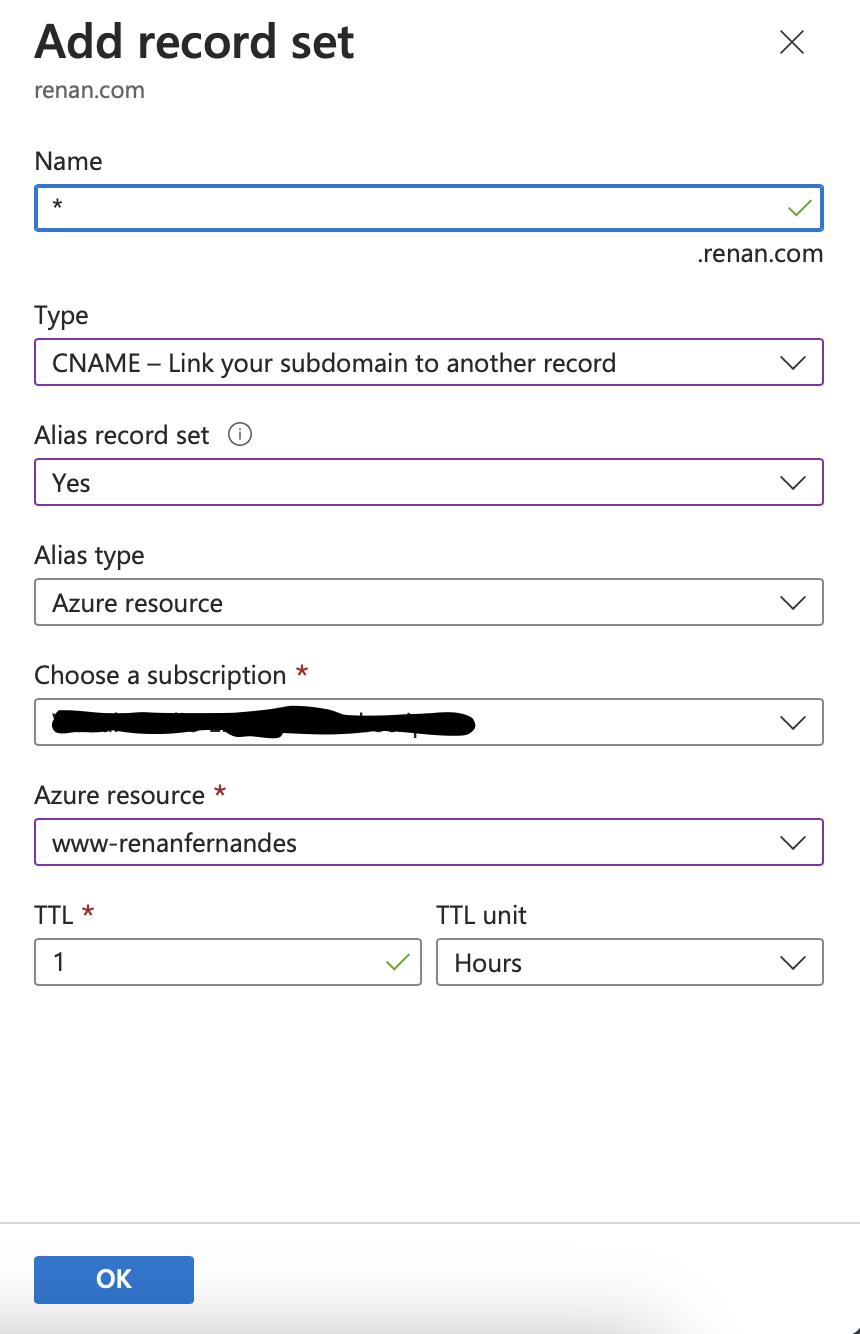
Inside your DNS Zone, click on + Record set and fill in the details:
Name: The DNS record you want to create. e.g. wwww, mail, etc.
Type: CNAME
Alias Record Set: This is a cool option, you can point your DNS record straight to an Azure resource instead. Use it if you like it, or just do the old fashion Alias way.
TTL: 1 hour

Click Ok and you are done!
Final Steps
You are almost done. The final steps are outside Azure. Make sure you update your registrar to point to Azure DNS records. You will find the Nameserver 1, 2, 3 and 4 inside your DNS zone as seen below:
 you are done! enjoy your new DNS Zone managed in Azure